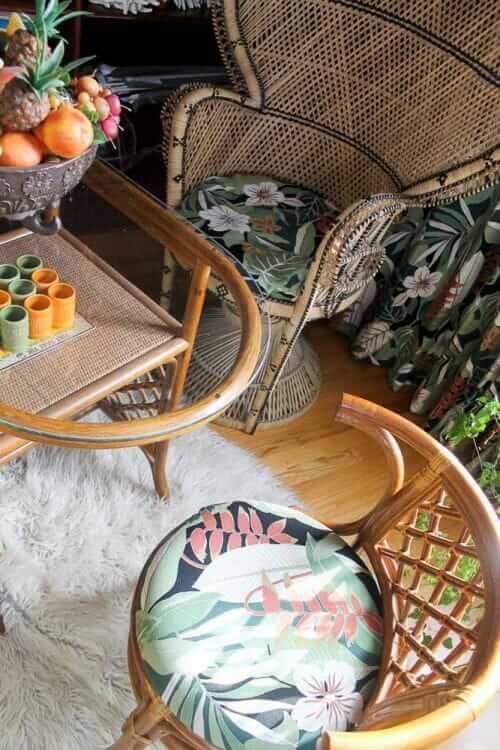
 On the whateverth day of Kitschmas I finished covering the cushions of my vintage peacock chair and little tuck-under rattan table and chair set with leftover fabric from my draperies. This was pretty easy — I just needed to put my head down and get the job the heck done. My 12 Days of Kitchmas challenge continues to inspire me, and to make the degree of my procrastination when it comes to things like this done, I did this yesterday (Sunday) not a month or week or even three days ago. I’m keeping up by the skin of my teeth. Oh, I fixed some of the trim on the peacock chair too — *soproud*.
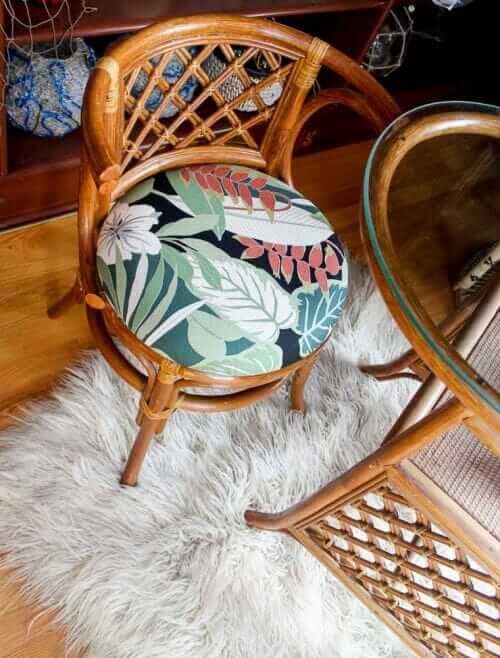 I’m not going to pretend this is a DIY triumph. The original cushion covering on the chairs that tuck into the table were simple coverings stapled over foam. The fabric was stapled underneath. The wood base was screwed into the chair in four places. Sally visited one day. She did the task. She found the screw, unscrewed them, cleaned up the chair with orange oil. I took off the old cushion cover, cut the new fabric, pulled it over the cushion taut, stapled the fabric to the wood beneath. Sally then screwed the whole assembly back together. Easy peasy.
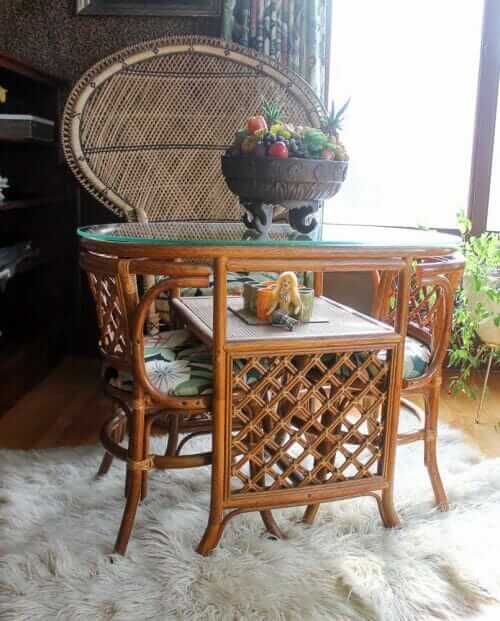
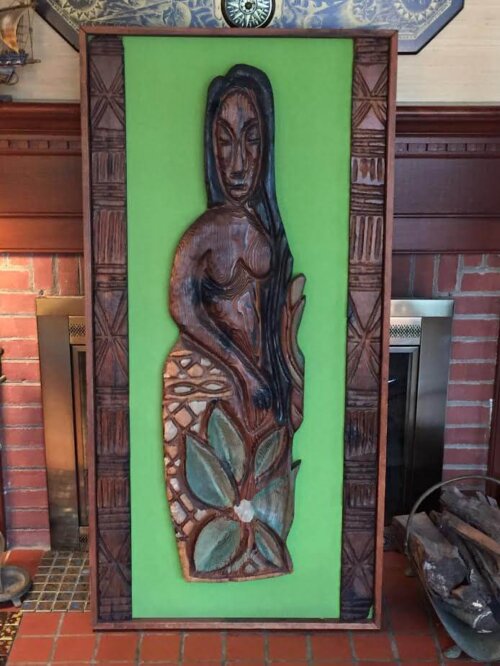 I picked up the little set — and the big bowl of colorful plastic fruit, too — at at the same place I found my first big Witco piece. I had seen this design online before and always liked it, because it so cleverly provides extra seating in a small footprint. The design is so nifty — including the shelf underneath the glass top, where I can display my vintage tiki taki toe set and my vintage Loretta Daum Byrne mermaid. I also love the lattice in the front, and such an unusual shape of glass!
The sheepskin rug is also vintage, from an estate sale at some point in the past few years before the things even became repopularized. The rug is Astro’s new favorite cozy place.
- I paid $75 for my peacock chair a few years ago. But over-the-top (literally, some are!) designs can go for much much more. See this story I did about different designs of peacock chairs — divine!
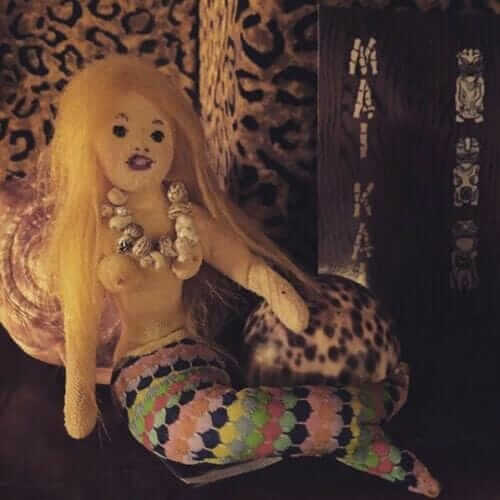
My vintage Loretta Daum Byrne mermaid doll — which makes Katiedoodle giggle every time I show it. I think I bought this at the Hukilau.
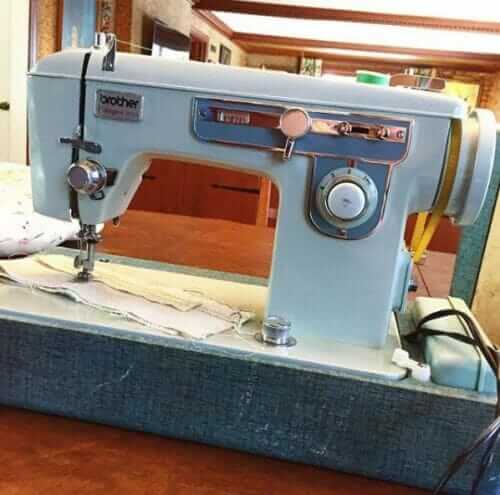
Making the cushion cover for the peacock took a bit more work. The project gave me reason to use the vintage Brother sewing machine that I bought from Denise a few years ago. It is a thing of beauty, and even though it had been sitting, waiting, for a few years, it powered right up and zigged and zagged like a dream.
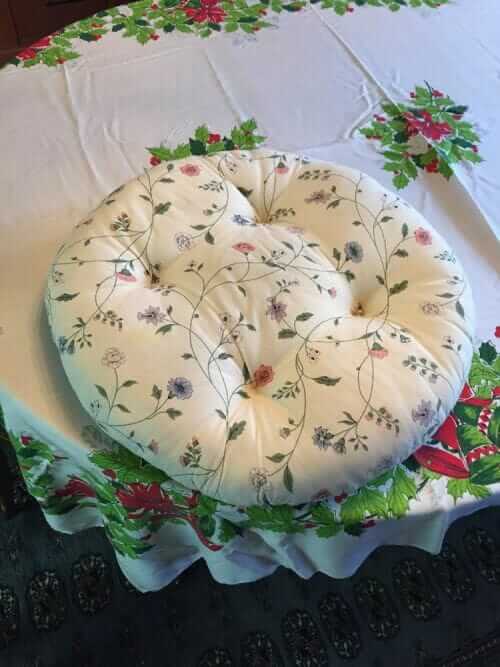
The old cushion on the peacock chair was in good shape, so I left the cover on it, and just recovered it with another layer of the fabric I had used for my pinch pleat draperies — Diamondhead Fabrics’ Kamuela Green barkcloth. I hand-stitched the opening, and two of the four divets. But while divetting, my thread broke, so I only made two divets.
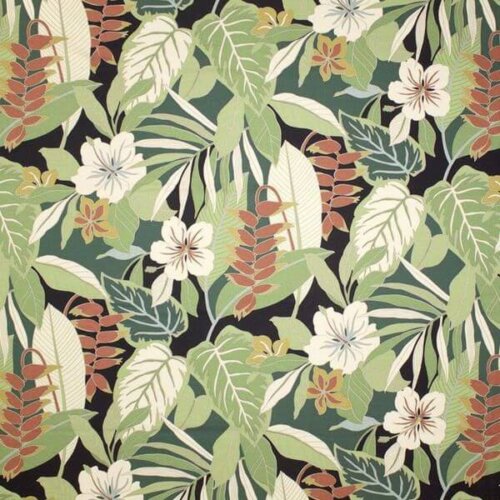
Ack. I did my first story on my Mahalo Lounge project on Dec. 5, 2016, when I found and decided on this fabric to set the stage. I am now into the project a year and two weeks. I’m almost done, though!
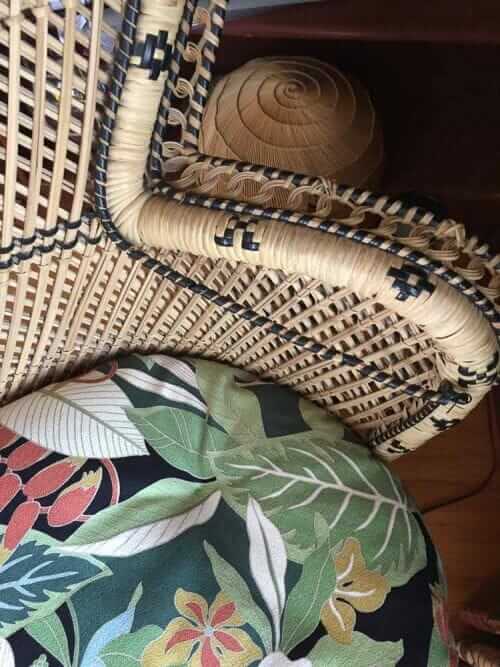
Above: So then I got to this part of the task. Hmmm.
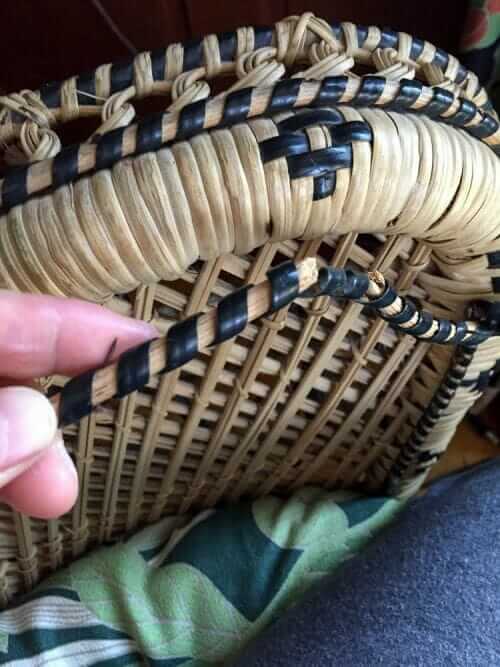 The rattan breaks in use. Note the tack/nail by my finger — the rattan is tacked in.
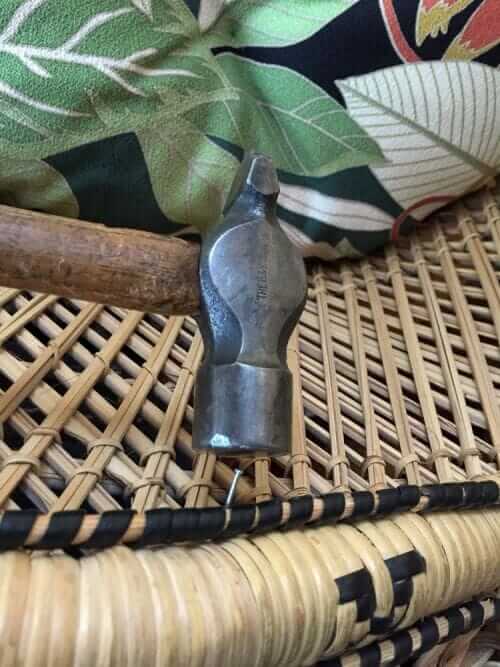 To fix the sitch, I carefully re-wrapped the plastic (yes, plastic) black wrapping along the broken portions of the rattan. Then, I re-tacked everything back into place using picture hanging nails. I tend to think: Mist your peacock chair every now and then to keep the rattan … moisturized.
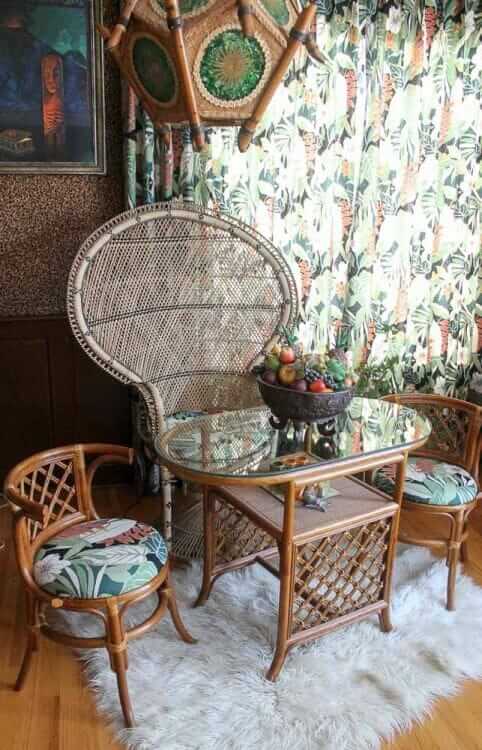
This whole little vignette corner is now going to be moving out of the way for a while to make way for my aluminum Pom Pom Christmas tree. That said, I’m happy I finished my matchy matchy cushions, golly, I feel a little like Sister Parish — if Sister Parish had done tiki!
The post Matchy-matchy cushion covers for the peacock chair and rattan set appeared first on Retro Renovation.
No comments:
Post a Comment